menu-toggle

All About Text: How to Ensure Legible Typography in Inkjet

circle overlay

It may not necessarily be the first thing designers think about, but legible text is key in creating a truly outstanding piece of print on digital inkjet. Like with so many other considerations in designing for inkjet, the combination of paper and ink can play heavily on whether the typography of your project adds or detracts from the overall quality. 

“Quality shows up quickly in the legibility of fine print,” write Elizabeth Gooding and Mary Schilling, authors of The Designer’s Guide to Inkjet, 3rd Edition. “Because ink is absorbed differently depending on the media’s surface, one dot of ink can spread a little or a lot. A tiny bit of dot gain can drastically affect the clarity of small or fine text.” 

Dot gain is very much the enemy of legible text, and, in fact, text at 4, 6, 8, or even 10 point font can be rendered unreadable depending on the marriage of substrate and ink type. 

The good news is there are a couple of helpful tips and techniques designers can use to help combat dot gain and ensure legible typography in digital inkjet. Here, we’ll look at a couple of things to consider to ensure the text of your next inkjet project is crisp, clear, and clean.

DP_Article-Pages_Legibale-Typography4
Keep kerning in mind

Kerning is a valuable technique in adjusting typography to reduce the likelihood of dot gain and ensure more legible copy. Plus, kerning and leading can also be key to open solid body copy and reverse body copy for increased legibility. 

Kerning refers to the adjustment of the space or elbow room between the letters in a line or within a block of type. Reducing kerning fits more letters on a line but it also can compromise the readability of the text, so applying the right degree of kerning can be something of a delicate dance for designers who are working with large blocks of copy. 

“Adding kerning will give a sense of airiness and openness between letters but will increase the space needed for the text block,” writes Gooding and Schilling. “When printing with uncoated or treated media, adjusting the kerning helps to better define letters to improve clarity. Increased kerning will also command attention, providing boldness to an area.” 

Lean into leading

Leading is the distance between lines of type as measured from baseline to baseline — or, put another way, leading is the space between individual rows of text. Closer leading can accommodate more text on the page, but it can reduce legibility, especially if you’re printing on a substrate and with a type of ink that is prone to larger amounts of dot gain. 

“Looser leading creates more space above and below the lines of text and makes the document easier to read but also requires more dedicated space for that text block,” write Gooding and Schilling. 

Make sure to mind your minimum line weights

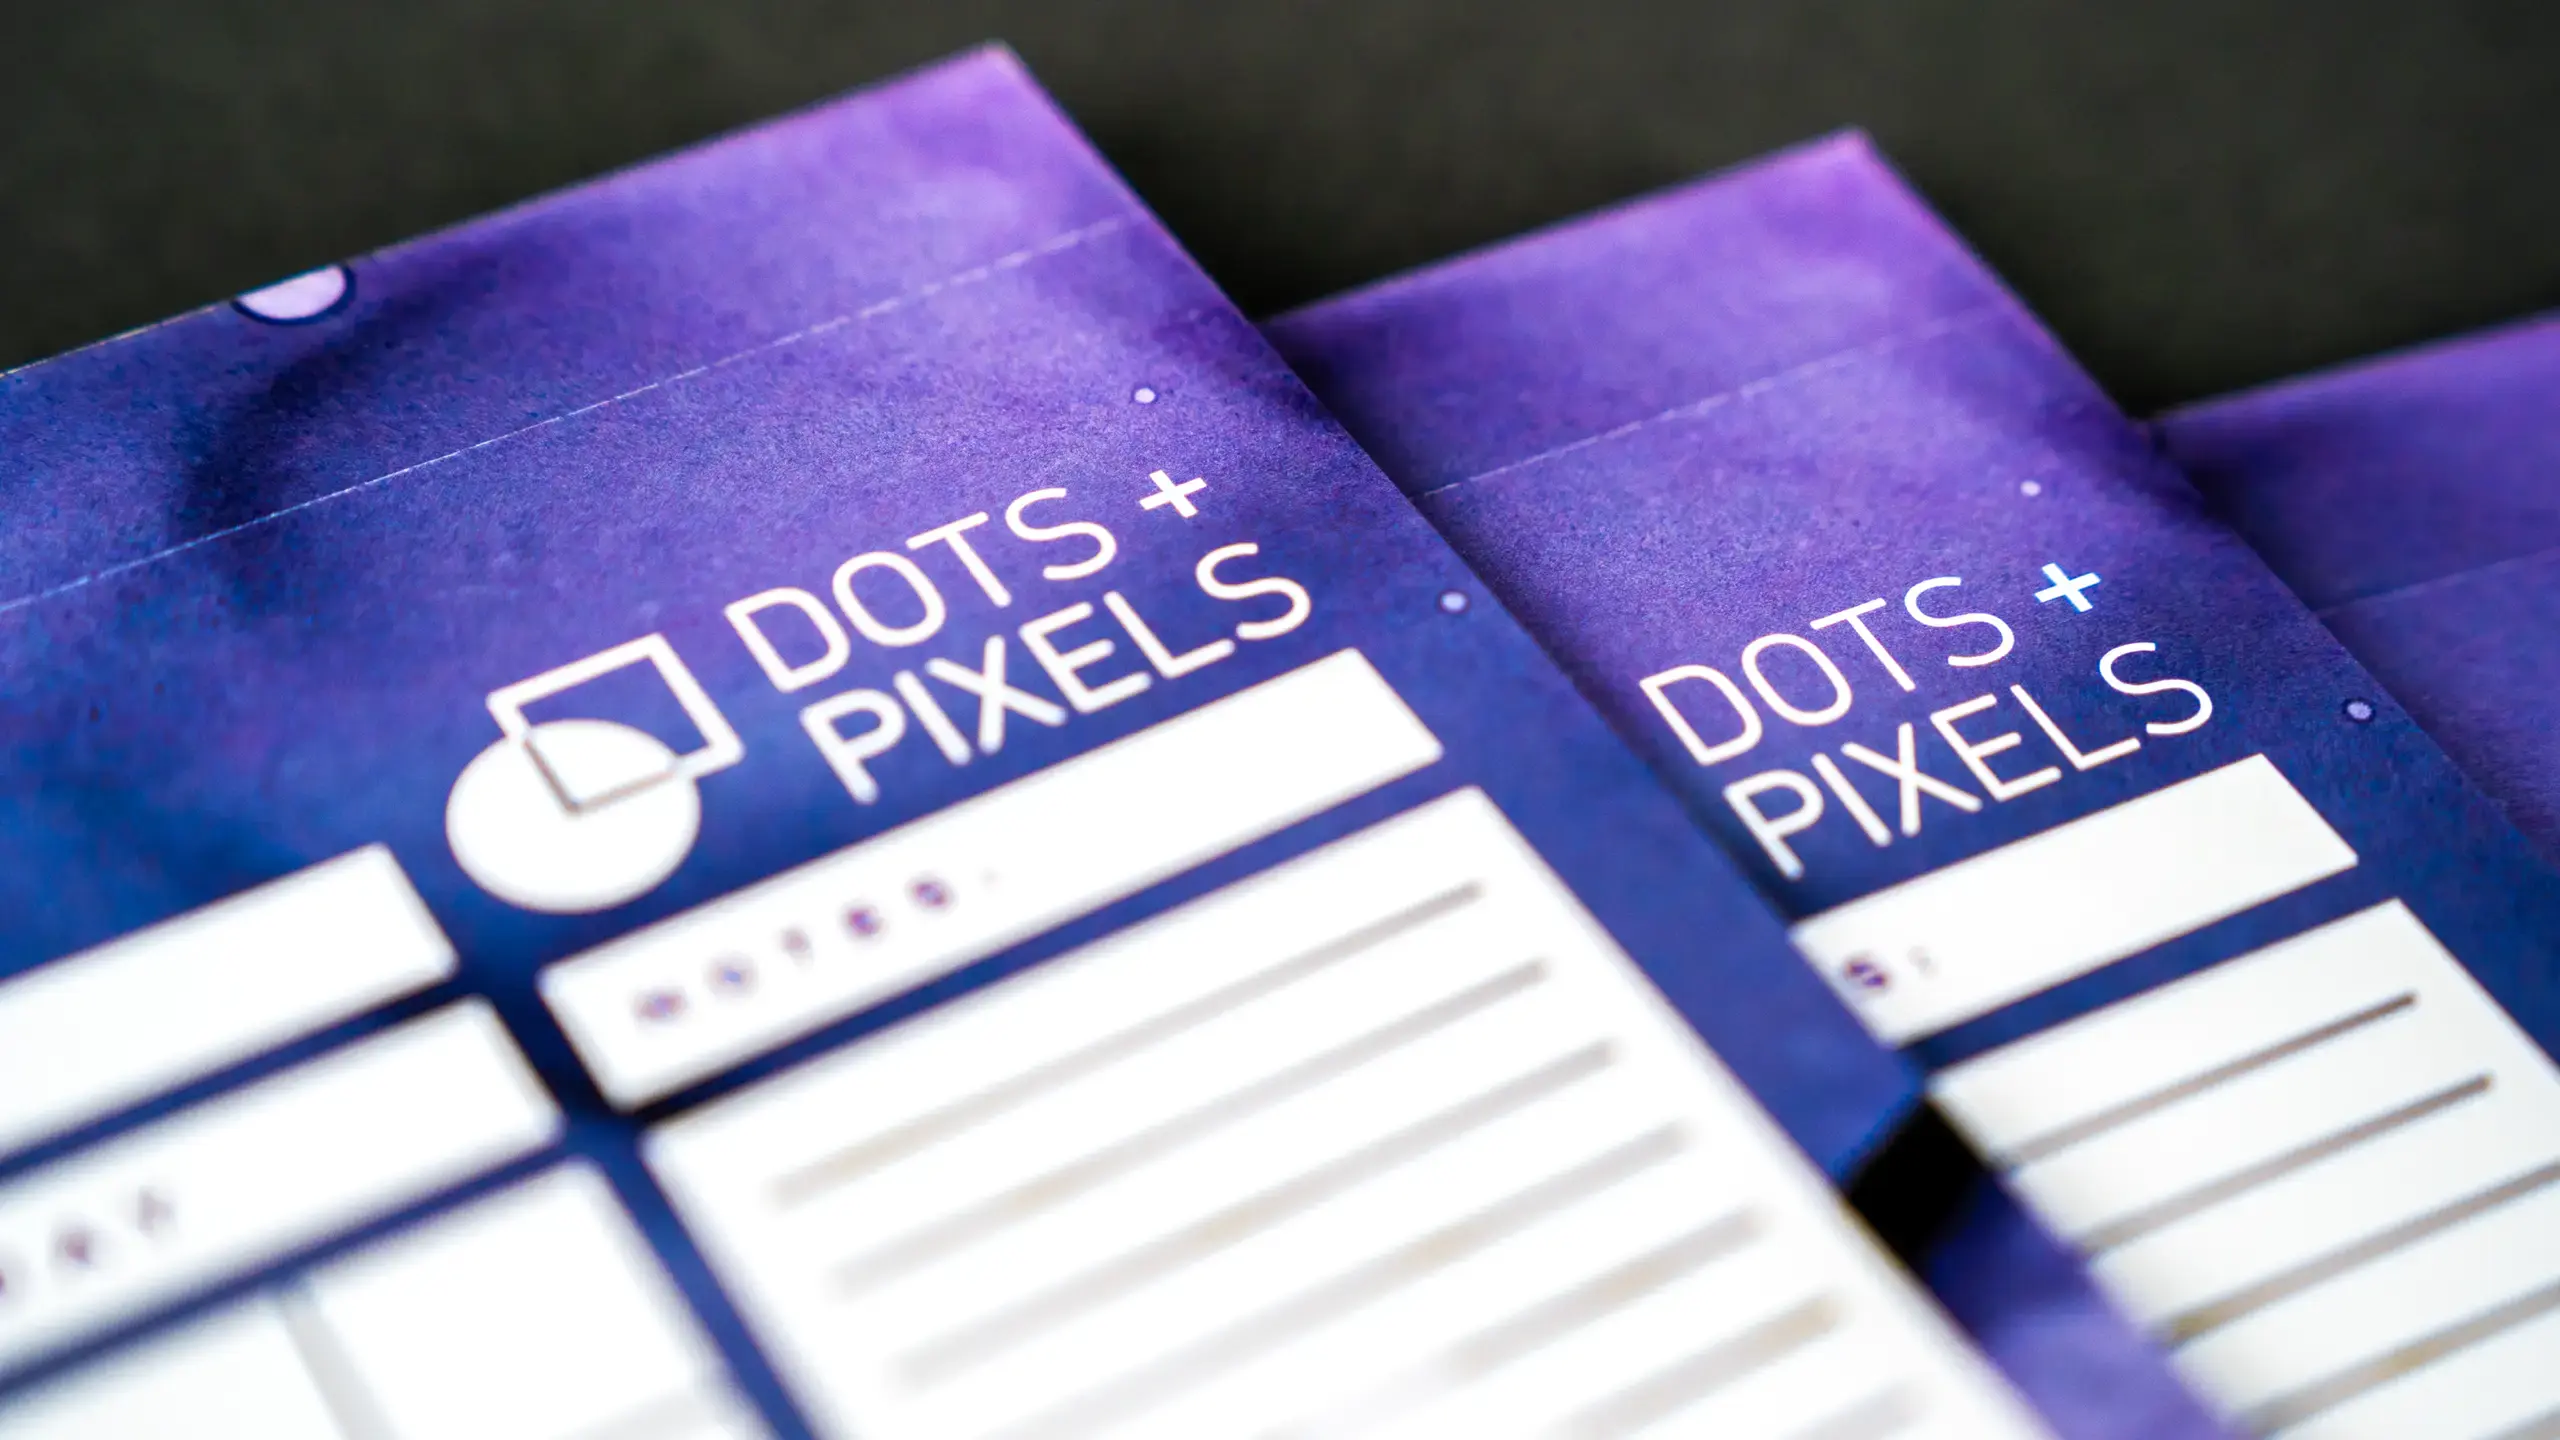
Solid or reverse minimum line weights are another component affected by dot gain. These line weights are very much dependent on the combination of your chosen media and ink color, and some combinations can cause solid lines to widen and spread. These same combinations can also cause reverse lines to get closer together based on how much ink is absorbed. 

“This absorption variance can increase or decrease the size of the printed lines as well as cause them to become ragged on the edges,” write Gooding and Schilling. 

The ideal solid line weight for printing on uncoated stocks with a single process color should use a line setting of 0.375 or higher. If a line contains multiple process colors to make up the line shade, the minimum should be 5 points, as this will help avoid line raggedness or a variety of other legibility issues. 

For reverse line weights printed on uncoated stocks, make sure you use a line setting of 0.75 or higher, though there are some nuances for the ideal reverse line weight to ensure the most legible text possible, particularly when printing with more than one process color.  

“Multiple process colors printed in a color block can absorb at different rates, causing a reverse outline to shrink and become ragged,” explain Gooding and Schilling. “The thicker the reverse outline, the less visible the ragged effect will be.”

Of course, as with so many aspects of ensuring high-quality digital inkjet print, communicating and collaborating with your print partner on the ideal line weights for your target press, substrate, and ink will help mitigate the negative impact of dot gain on your finished piece. 

DP_Article-Pages_Legibale-Typography3

While these considerations will help you design digital inkjet with readable text that supports your color, coverage, and finishing choices, this is just the beginning of how to ensure legible typography in digital inkjet. Download The Designer’s Guide to Inkjet, 3rd Edition to learn more about this important part of designing for inkjet.