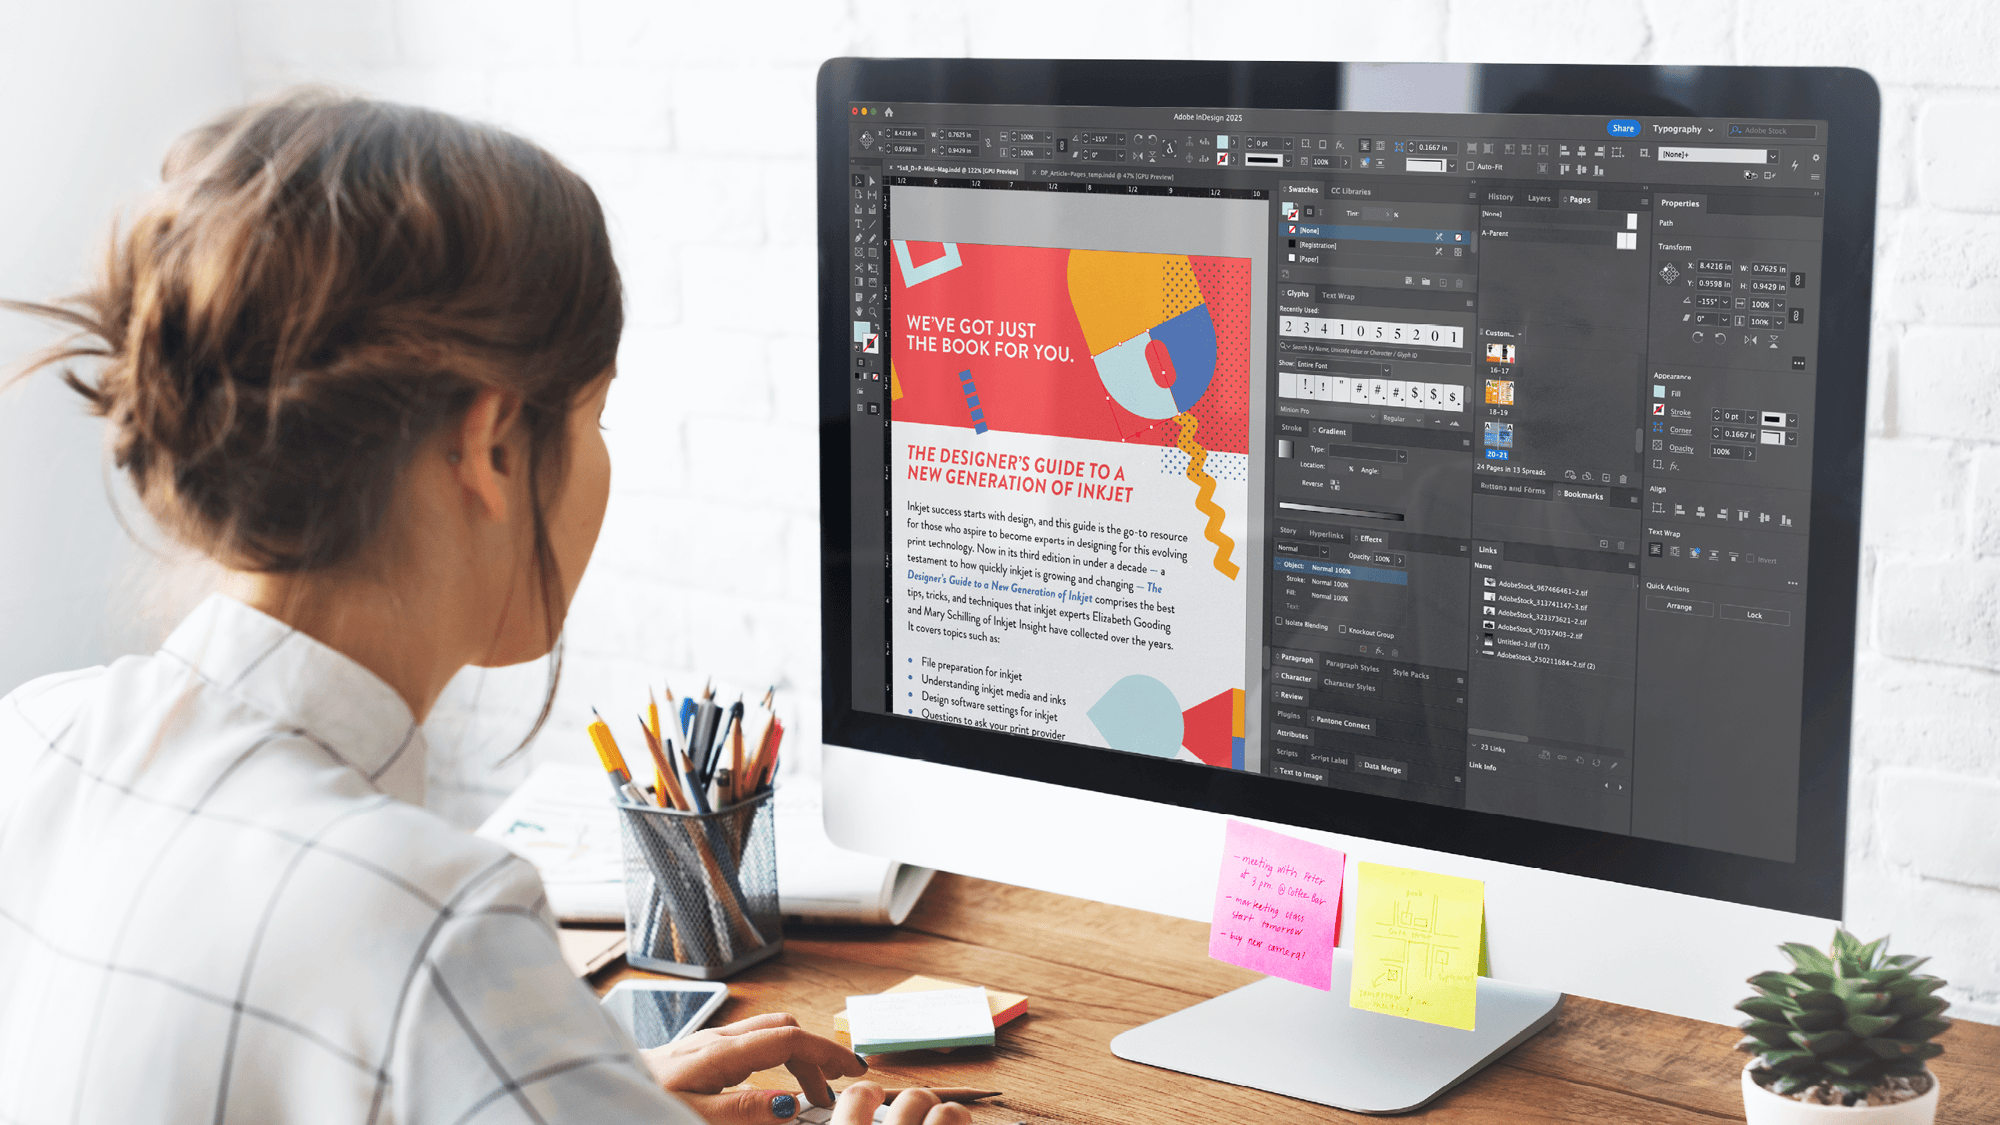
Why Adobe InDesign’s Preflight Panel Is a Designer’s Best Friend

Handing an error-free design file to your print provider is key to ensuring a smooth, streamlined digital inkjet production process. Some of the most common issues that arise during preflight include missing fonts, missing or modified images, hidden text, and spelling errors. Checking for these potential issues manually can be costly and time consuming, especially for designers working on large-scale projects like brochures, case studies, or white papers.
This is where Adobe InDesign’s preflight panel comes in handy. Not only does InDesign’s preflight panel accelerate the prepress QC process, it also decreases the likelihood that file errors make it to the printer by removing the human element for error.
Here, we’ll look at a couple of unique features and characteristics that make Adobe InDesign’s preflight panel a designer’s best friend, and what you need to know to get the most out of this tool.
How does InDesign’s preflight panel work?
The Adobe InDesign preflight panel essentially automates the process of proofing or ensuring your design file is error-free as you go, removing the need to QC a file at the end of the design process and helping to identify and correct errors as they occur. For instance, with InDesign’s preflight panel, you can detect and correct problems such as low-resolution images or overset text in the moment, helping to save time and money down the line.
InDesign’s preflight panel can also be customized to your specific needs or preferences to help you leverage the tool in ways that work best for the kind of design work you do most frequently. You can configure preflight settings to define which conditions or errors are detected — this allows you to create a preflight environment that is tailored to your specific design needs, strengths, or weaknesses.
For instance, you can use the preflight tool as a last line of defense to troubleshoot design file errors that you struggle with the most.
To take advantage of InDesign’s live preflighting capabilities, you need to create or specify a preflight panel in the early stages of creating or editing a file. Creating a profile will not only alert you to potential issues with the file, it will also provide brief, high-level guidance for correcting the issue.
How to define an InDesign preflight profile
Every InDesign file utilizes a basic or default preflight profile to help flag a number of common errors. While you cannot edit or delete the default profile, you can create multiple additional preflight profiles that you can switch between when working on different files, with different print providers, or when running a single file through different production phases.
Here’s a quick step-by-step look at how to define an Adobe InDesign preflight panel profile. First, choose Define Profiles from the Preflight panel menu or from the Preflight menu at the bottom of the file window. Click New Preflight Profile and choose a name for the profile. Then, in each category, specify your desired preflight settings. A check mark in a box indicates that all settings are included.
Some of the settings include:
- Links: You can select whether missing links and modified links are displayed as errors.
- Color: You can specify whether transparency blending space is required and whether items such as CMYK plates, colorspaces, and overprinting are allowed.
- Images and objects: You can determine the requirements for items such as image resolution, transparency, and stroke thickness.
- Text: This setting will help identify and display errors for items such as missing fonts and overset text.
- Document: You can specify requirements for page size and orientation, number of pages, blank pages, and bleed and slug setup.
Once you’ve created your preflight profile, you can also embed your profile into the file. Embedding profiles is especially useful when you’re sending the file to someone else, and this can be extremely valuable for collaborating with other parties.
It’s important to note that embedding a profile does not guarantee that the profile will be used — for example, if you send a file with an embedded profile to a printer, that printer can select a different profile to use in the file — and you can only embed one profile into a file. Still, embedding a profile can help streamline the production process and make collaboration easier, faster, and more productive.
While Adobe’s InDesign preflight panel can be a valuable tool in helping to QC design files, there’s much to learn about best practices of designing for digital inkjet. The Designer’s Guide to Inkjet, 3rd Edition has everything you need to know about creating the highest quality digital inkjet print projects.
Download the free guide.
See More Like This
See MoreInkjet Insights
LEARN: Ask Your Printer These Questions to Determine Their Finishing Capabilities
Inkjet Insights
LEARN: Ask Your Print Provider for These Kinds of Samples to Better Understand Their Inkjet Capabilities
Inkjet Insights
LEARN: Understanding the Common File Types Used in Adobe InDesign
Inkjet Insights
LEARN: Web-Fed vs. Sheetfed: What’s the Difference Between These Two Types of Inkjet Presses