menu-toggle

What to Know About Applying Image Filters in Adobe Photoshop

circle overlay

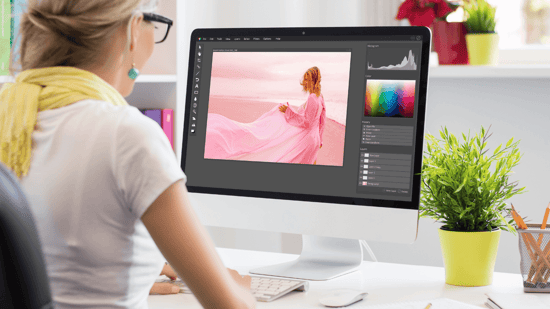
When trying to get the best image and color quality out of a digital inkjet device, a photo editing tool can offer some interesting and unique possibilities. If used in a color-managed environment, a photo editing tool like Adobe Photoshop can help simulate the color space of a digital inkjet press to provide a more real-world glimpse at how color will be produced on a printed sheet. 

What’s more, a photo editing tool like Photoshop can support a more thorough soft-proofing process to help designers better identify color correction issues before the design file is sent to the printer. 

“It [Photoshop] has wonderful filters and effects that make images and colors pop — even when printed on coated and uncoated media,” write Elizabeth Gooding and Mary Schilling, authors of The Designer’s Guide to Inkjet, 3rd Edition

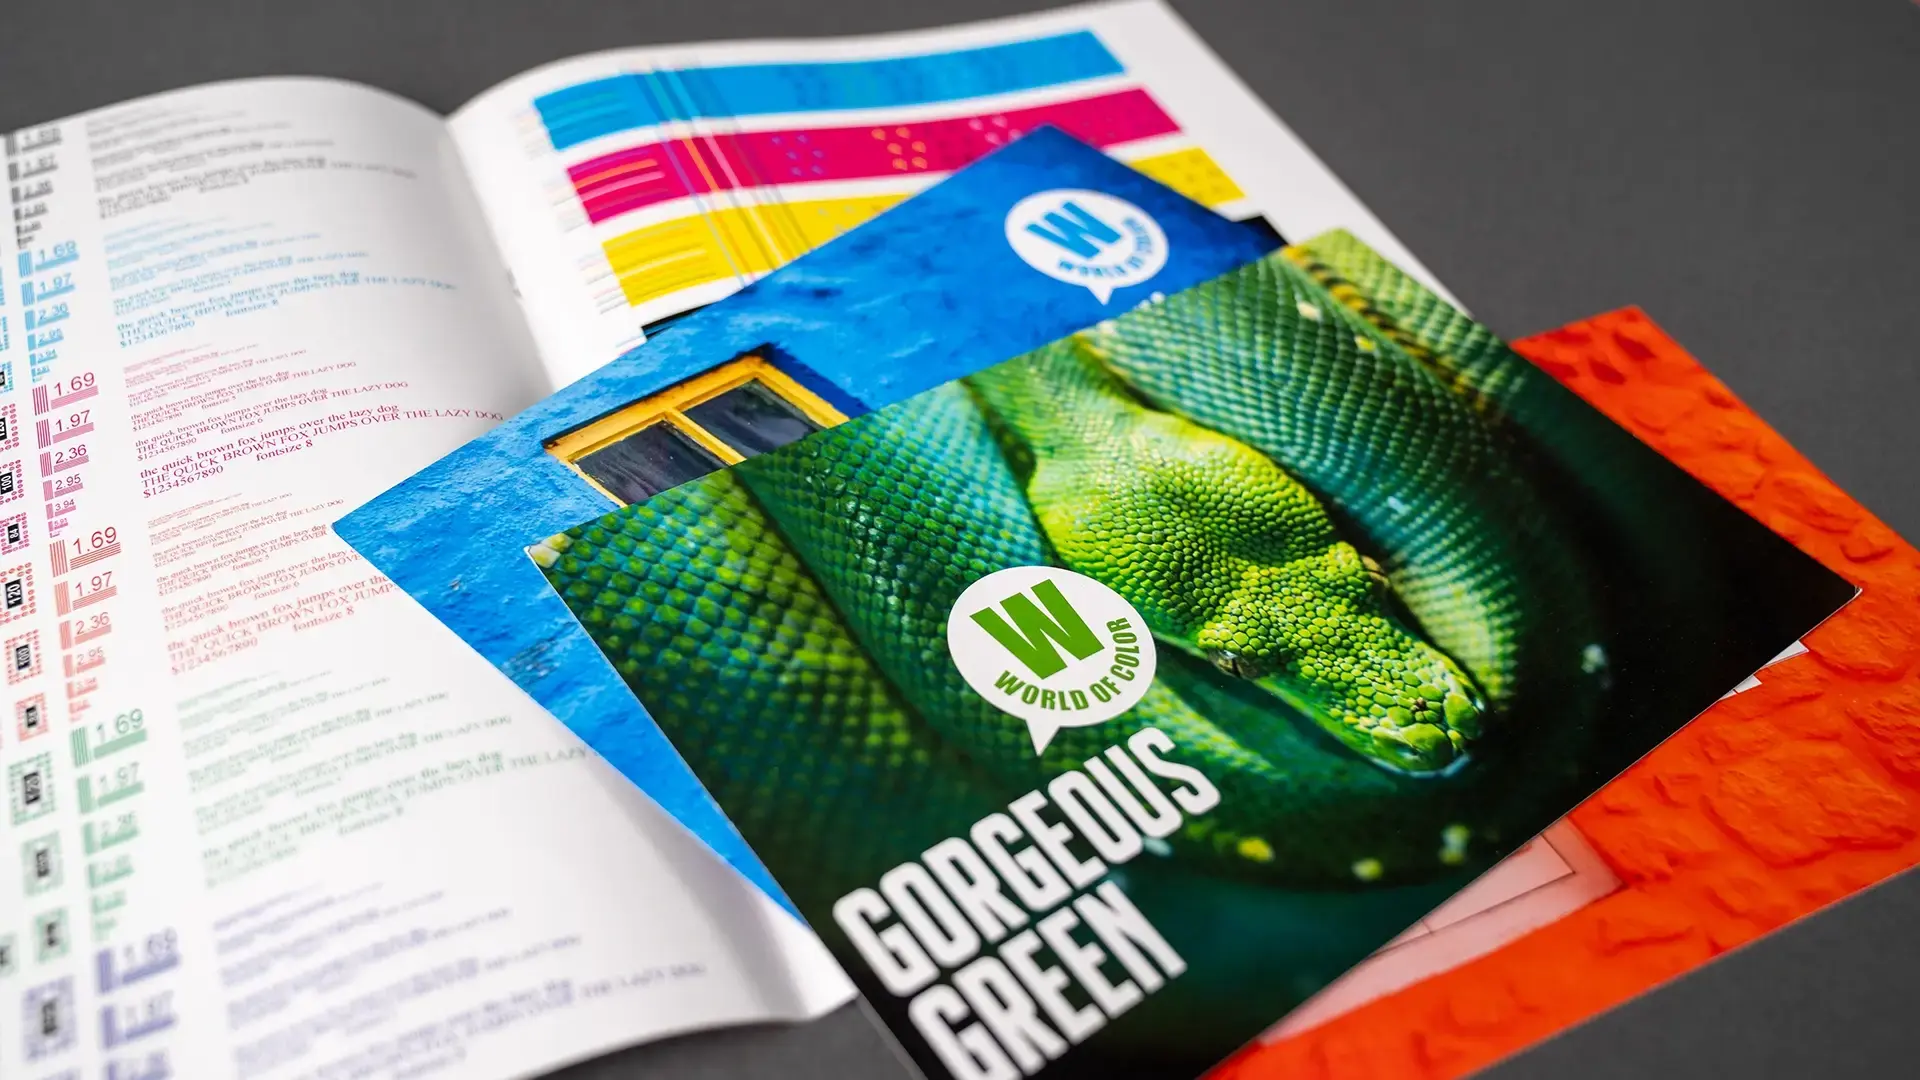
However, there are some important principles to keep in mind when using image filters in Adobe Photoshop. Here, we’ll look at what to know when applying image filters in service of creating more vibrant, dynamic images and colors. 

DP_Article-Pages_applying-filters4
Make sure to apply filters and image adjustments with the correct image resolution

Using image filters depends heavily on the final color space recommended for a specific target print environment. Applying filters and image adjustments with the correct image resolution will help ensure compatibility with the final color space for a specified print device, and it will also help streamline the production process by removing the potential for design file edits after the creation of press-ready files. 

“Any color correction effects or filters applied will affect color in a manner specific to your color space,” write Gooding and Schilling. “Photoshop filters can only be applied to an RGB or CMYK color space image, so be sure to review filter rules before converting the color space for an image.” 

It may seem like a small consideration, but the right image resolution and right image file type can weigh heavily on the final outcome of your digital inkjet project.

Be careful about double converting files within Photoshop

If a design file image has previously been converted to CMYK and a filter or effect can only be applied to an RGB image, it is possible to convert the image back to an RGB. This can not only create more work for designers, but it can also cause bottlenecks in the entire design and production process, costing more time and money. 

The good news is there is a relatively simple way to avoid double converting image files. 

“Always preserve your original color definitions upon RGB conversion,” explain Gooding and Schilling. “Then, you can convert the image to the preferred production color space before final color correction and soft proofing.” 

Test any adjustments against your color reference document before applying them to your design project

A large part of ensuring process efficiency with digital inkjet — or with any kind of print platform for that matter — is conducting quality assurance checks of your design colors and images. Applying image filters is no different, and testing any adjustments against your color reference document before applying these adjustments to your design project can help avoid issues with your design file down the line.   

“Filtering and image adjustments are complex processes that can yield unexpected results in a production inkjet environment,” write Gooding and Schilling. “You can’t use your monitor as the visual proof for complex changes and layered effects.” 

Bonus: Try these fun Photoshop filters to add some extra pop to your digital inkjet projects

Now that you know what to know about applying image filters in Adobe Photoshop, here are a couple of fun filters that can help increase the image and color quality of your design files to create digital inkjet projects that truly turn heads. 

  • Brightness and Contrast. Adjusting the brightness and contrast of your images can give images more depth and character. It’s important to note that these filters are ideal for images that do not contain skintones. 

  • Exposure. Adjusting the exposure of your images will increase midtone and color saturation in areas that are flat.

  • High Dynamic Range (HDR) Toning. This filter will intensify the image’s sharpness and detail via color saturation adjustments. You can also combine multiple exposures in the same image. 

  • Photo Filter. This filter colorizes highlight and midtone areas that are likely to take on your media’s color. As such, be sure to choose a hue that adds color to areas that may be dulled or dirtied by the media color. 

DP_Article-Pages_applying-filters3

Applying image filters in Adobe Photoshop can help you design and print digital inkjet projects that take image quality to the next level. The Designer’s Guide to Inkjet, 3rd Edition has everything you need to know to level-up your next inkjet project. Download the guide to learn more.