
How to Prepare Variable Images for Print


Designing digital inkjet print using variable images helps create more personalized projects that connect more deeply with your audience — and, in the case of print marketing applications like direct mail, using variable imagery can help increase the response rate of your campaign, which further optimizes your investment in print communications.
However, there are some pretty key differences between preparing static images for print compared to variable imagery. It’s essential to understand these differences to help ensure a quality final product, and to ensure a high level of process efficiency when packaging and sending files to your print partner.
“When a provider receives a file that conforms to their specifications, processes, and understanding of customer requirements, life is good,” write Elizabeth Gooding and Mary Schilling, authors of The Designer’s Guide to Inkjet, 3rd Edition. “When they receive files that don’t conform to specifications or are missing elements, those files can cause delays, adding time and cost.”
To help you avoid these delays when using variable imagery for digital inkjet, let’s look at the difference between using static and variable images, and what to keep in mind when preparing variable images to help create high-quality projects, and maintain a productive relationship with your print partner.

What is the difference between static and variable data files?
One of the biggest differences in preparing static and variable data files for digital inkjet print is how the files are processed before they even go to the press. Static designs can be put through a preflight process to automatically correct any color, font, or image assignment issues. Colors defined with PMS color numbers will convert to CMYK values, and the entire file is then ripped and sent to the printer. This means the file is ripped only once and copied for each page of the finished job.
With variable data files, static and variable elements must be broken out separately for each printed piece, and this is key for running design files with variable data through the same preflight protocol to ensure a smooth, efficient, and high-quality print process.
“While the static elements appear the same on each piece, the variable areas are filled in with text or images as directed by information from a data source such as a spreadsheet, CSV file, text file, or copy book,” explain Gooding and Schilling. “While the original design file includes only one copy of each element, those elements are combined in different, data-driven ways on each finished page.”
Separating static and variable image files before the preflight process can streamline the print of your design, but it’s also key to know that different print providers may process variable data printing in a couple of different ways.
One way to process variable data is to load a static document into the printer’s memory, which then allows the printer to create the static document when pages are sent to the print driver or RIP. Variable data is added on top of the static document when the files print, which is referred to as a “form flash.”
You can also process design files by combining the static and variable elements into a print file before ripping via specialized variable data printing (VDP) software. This process produces optimized print files that help accelerate print speed because the RIP only processes static elements one time.

What to look for when preparing your variable data files for print
If your digital inkjet project involves commercial or transactional print like account summaries, invoices, or personalized direct mail, there’s a good chance that you’ll have to engage with a VDP or composition tool to ensure your design file is accurately represented on the printed sheet.
While this software does help simplify and streamline the RIP when it comes to combining variable data and static components, there are a couple of additional things to look for when preparing your design file to print. To help ensure your design can pass cleanly through the filter of your VDP or composition software, you need to consider and account for:
-
Fonts. Often fonts are loaded as “restricted,” which means that they only embed the actual characters used in the PDF file. Gooding and Schilling recommend double checking to ensure complete font sets are available for every single font used in your design file, even if embedded. It’s also important to avoid outlining fonts that include variable data — only large static text used as a graphic element should be outlined.
-
Colors. If you make color corrections and set CMYK values during your proof process, you need to ensure this color information is applied to the entire workflow. A good number of composition tools have settings that tell them whether to use the color definitions from the input file or to override them with the software’s own color management settings. If you want to use the settings you specify, you need to communicate this to your print provider.
-
A soft proof. This is something you can request from your print provider to verify that variable data was applied to your design. This test file is usually a PDF generated from the composition software using the PDF you generated from your design platform, and while this soft proof may not be an exact match for what comes off the press, it should demonstrate consistent color and surface layout issues in accommodating variable content.
While these tips will help you better prepare variable images for print, there’s still so much to know about creating press-ready files that will best represent the creativity of your design. Download The Designer’s Guide to Inkjet, 3rd Edition to learn more about how to design high-quality, innovative projects for inkjet.
See More Like This
See More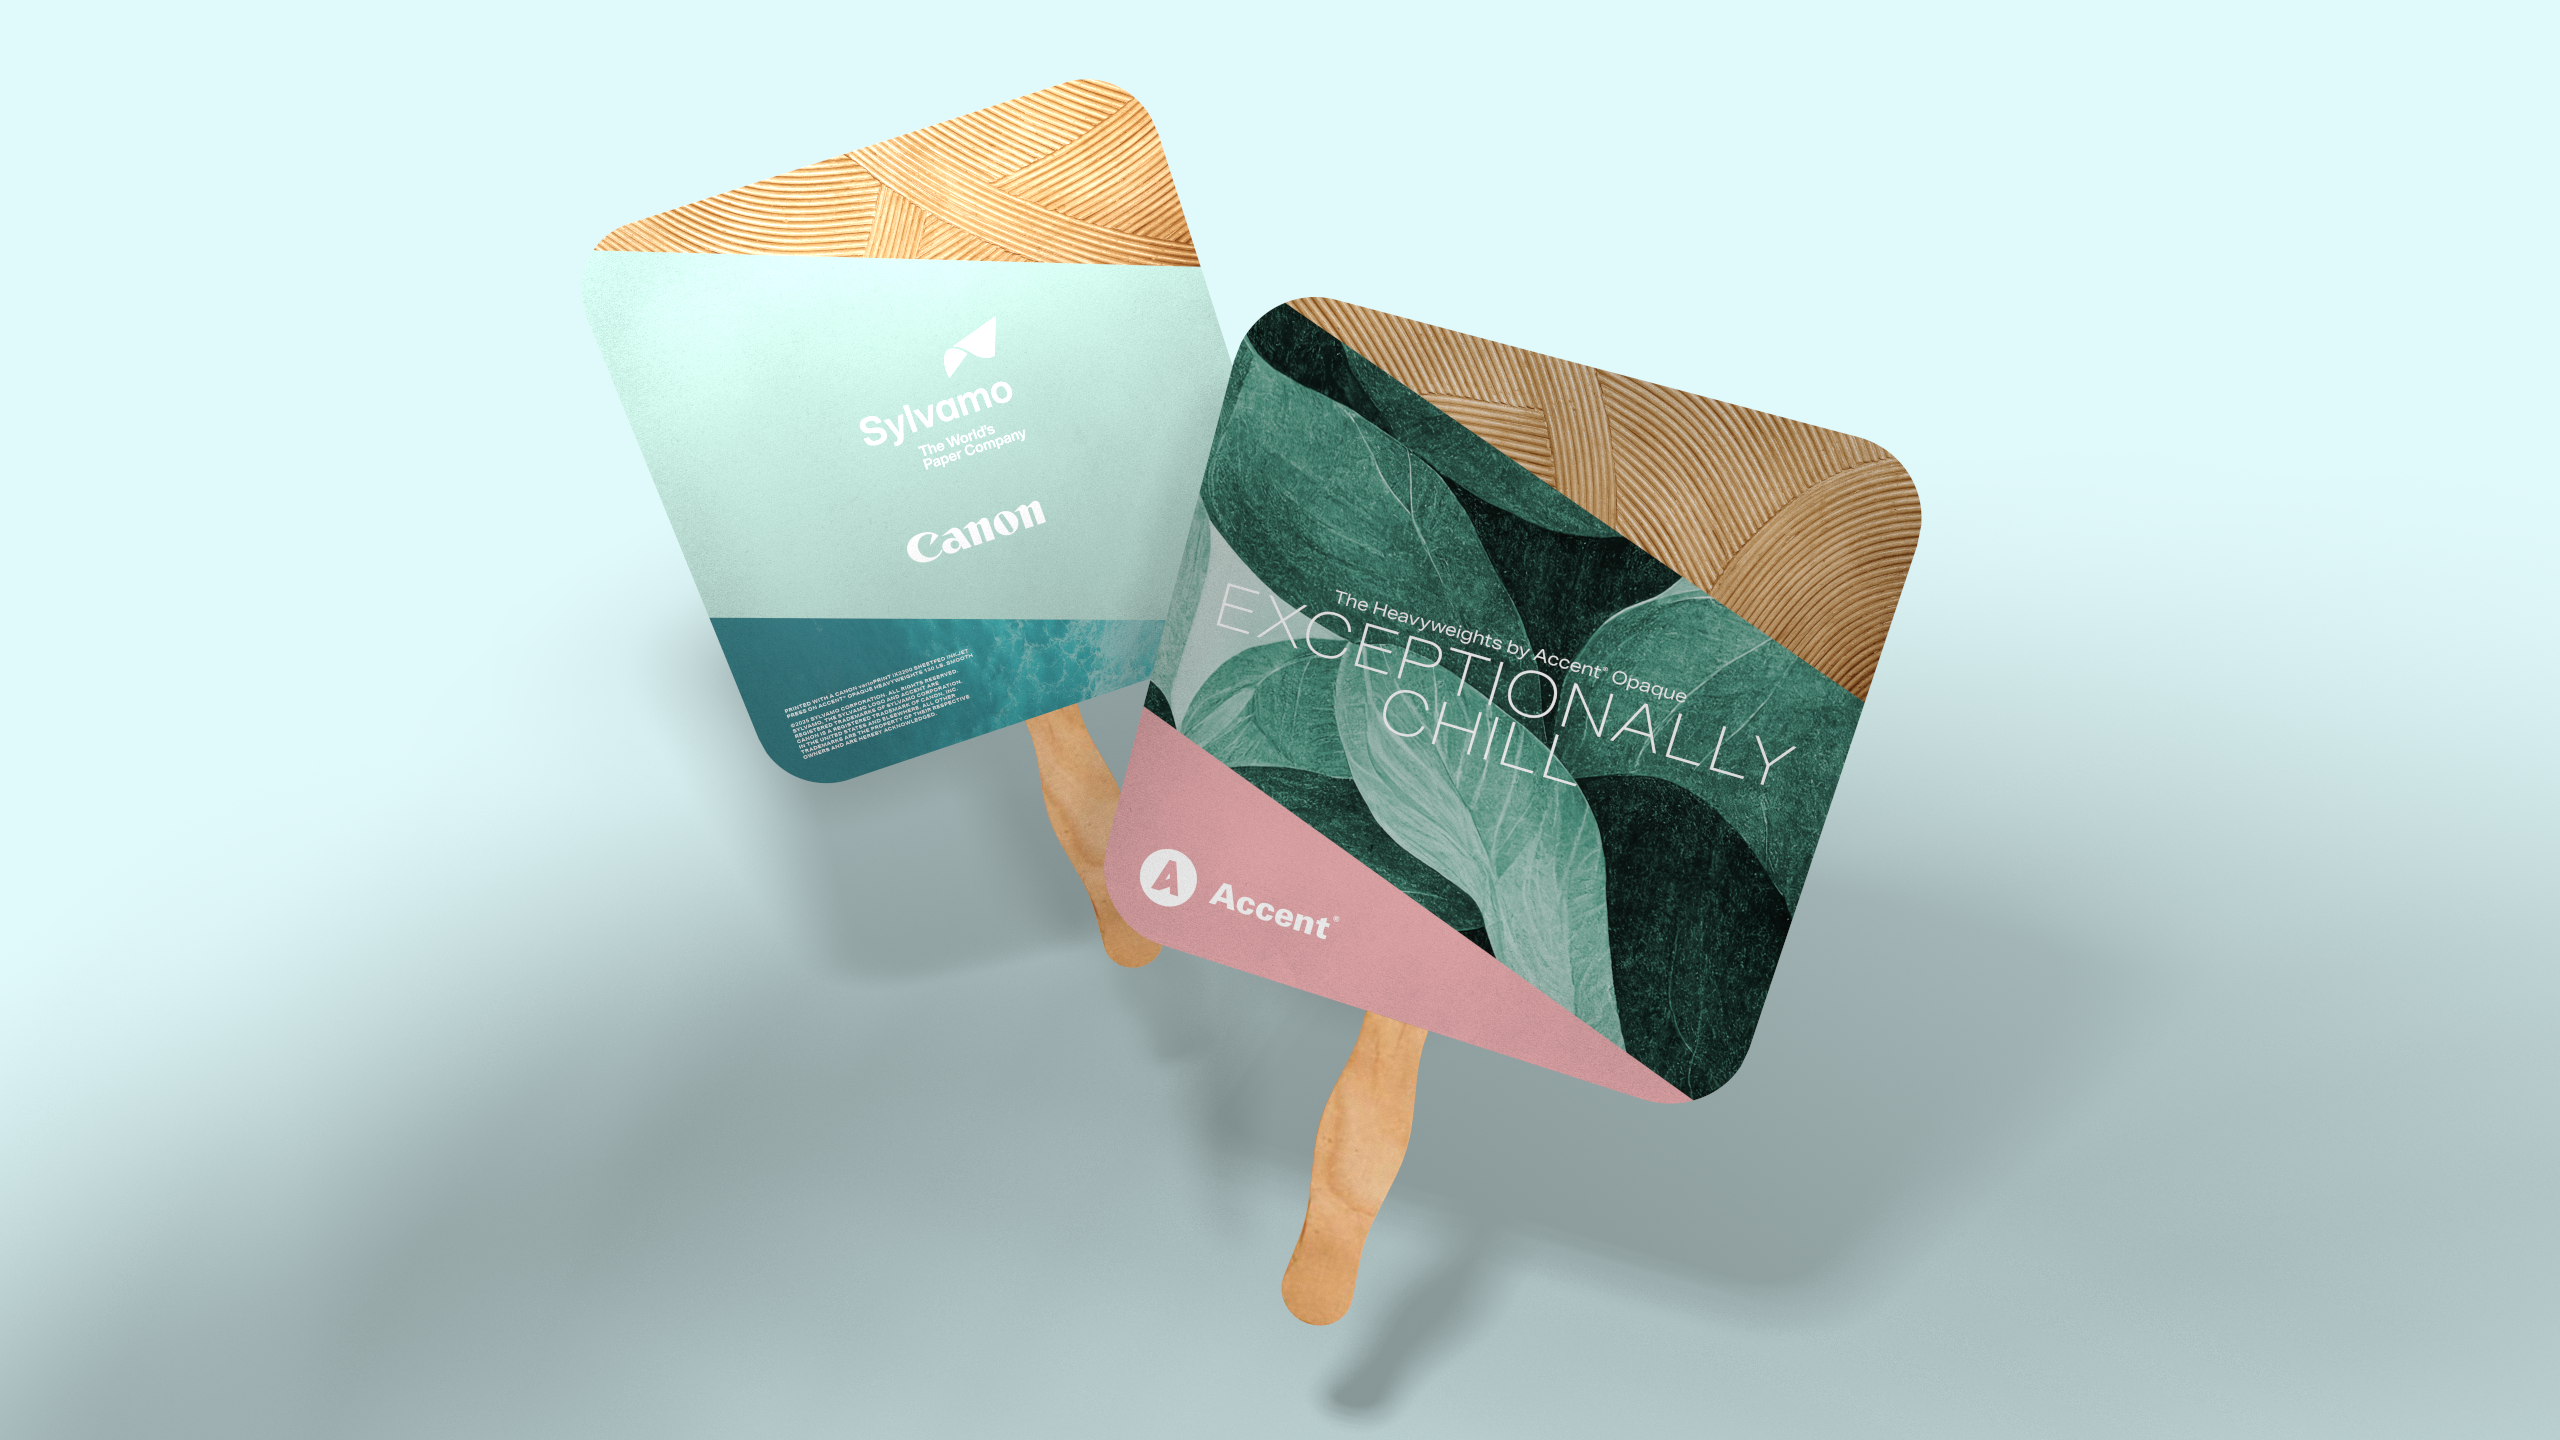
Marketing Collateral
Project Spotlight: A Practical Giveaway to Keep thINK Ahead Attendees Cool
Marketing Collateral
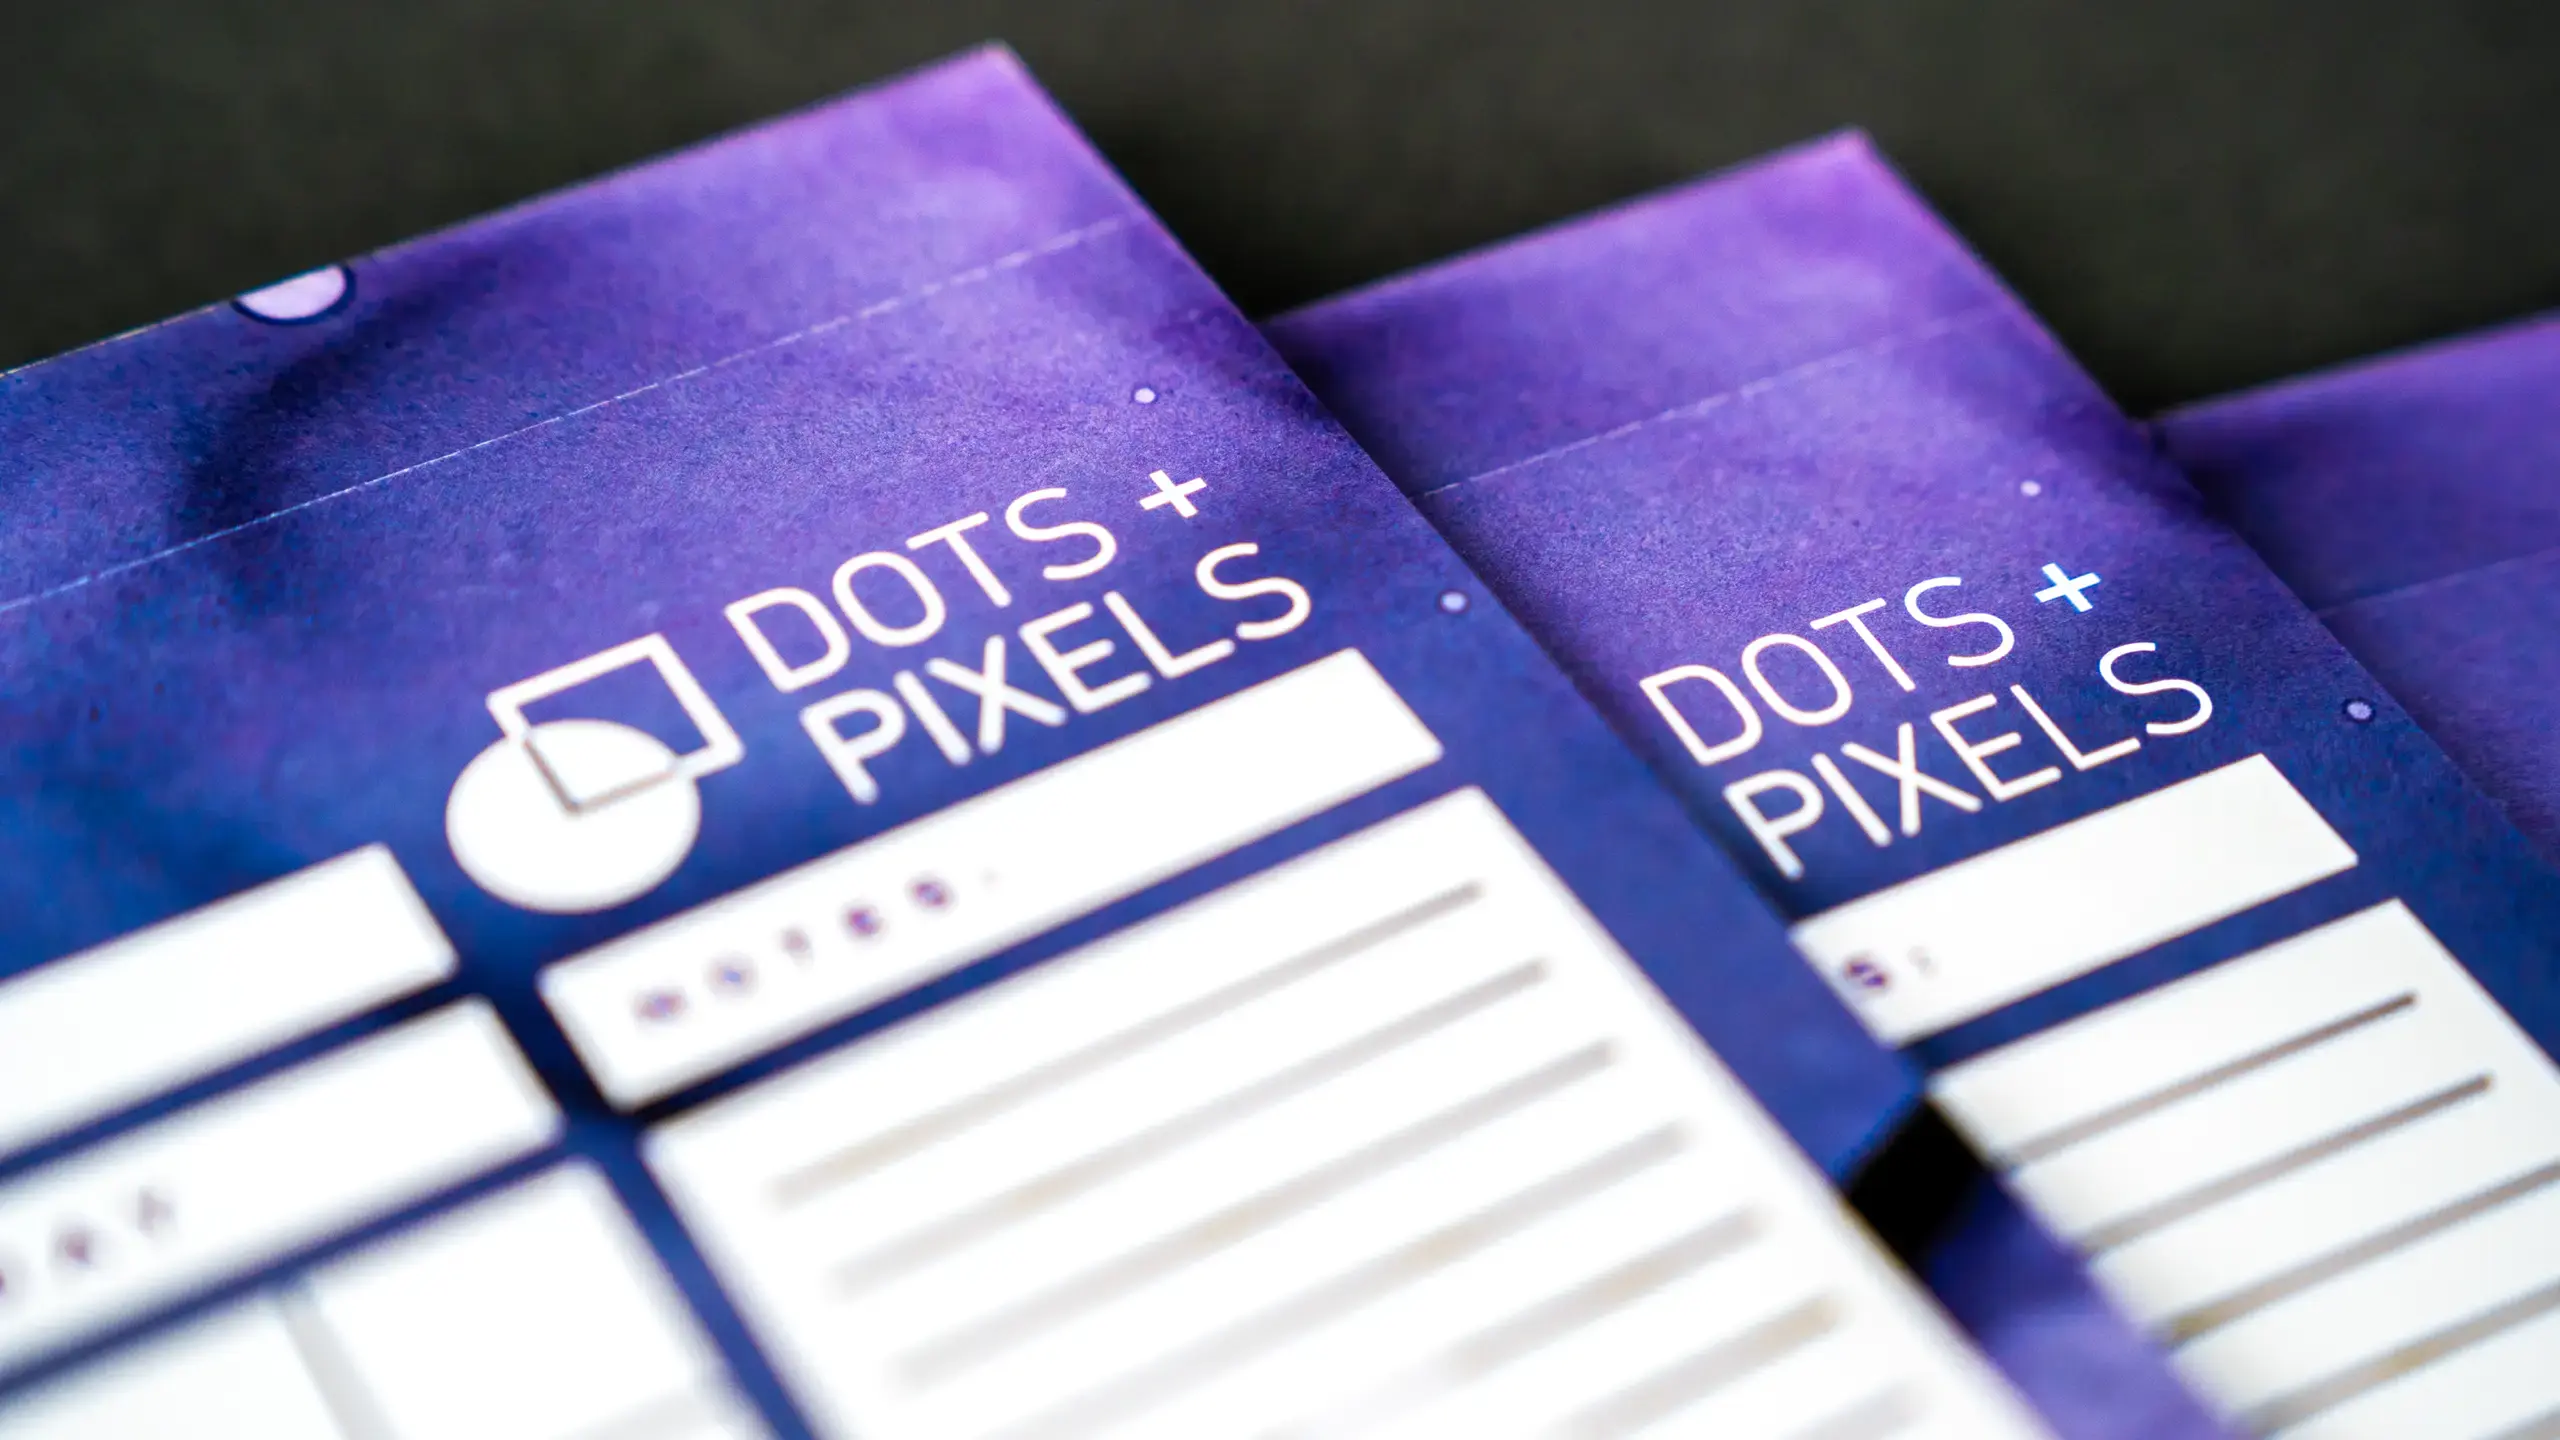
Project Spotlight: A Blank Canvas for Organization and Inspiration
Marketing Collateral
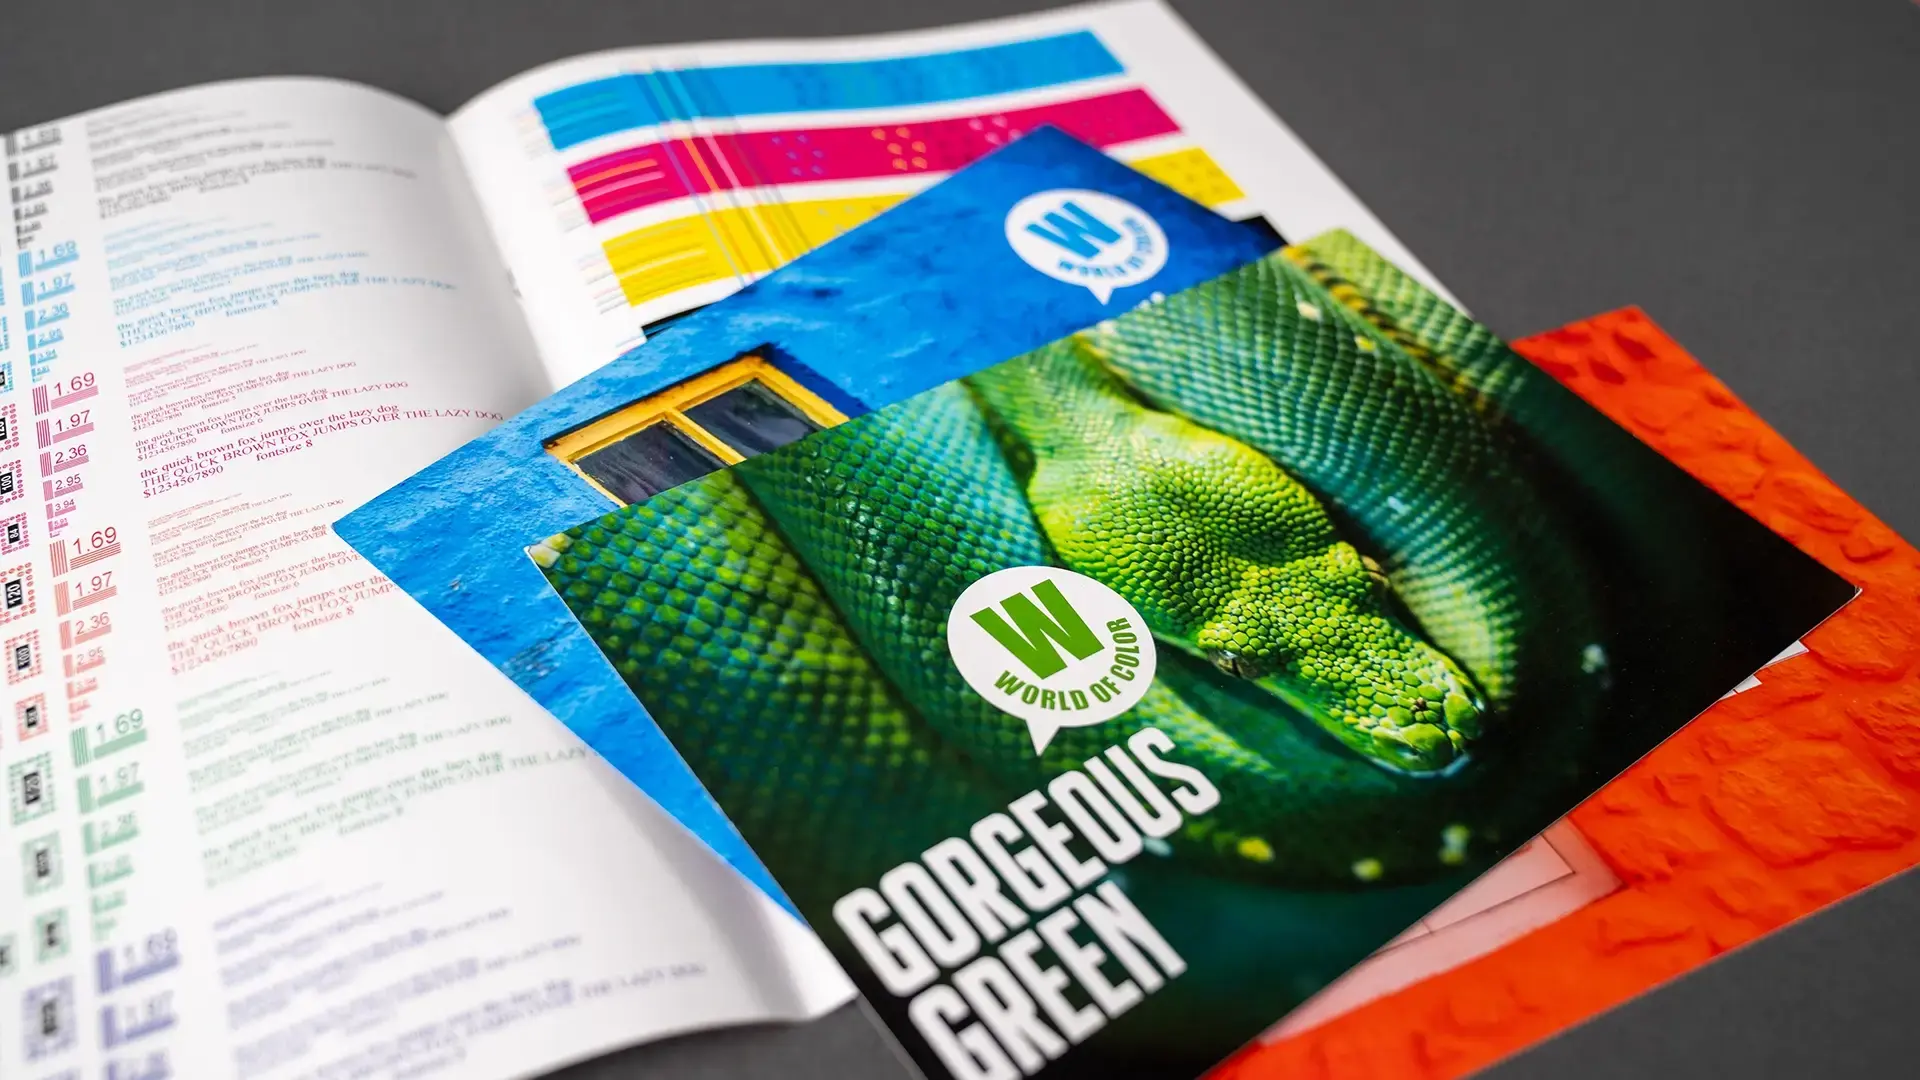
Project Spotlight: Exploring the Wide World of Color
Marketing Collateral
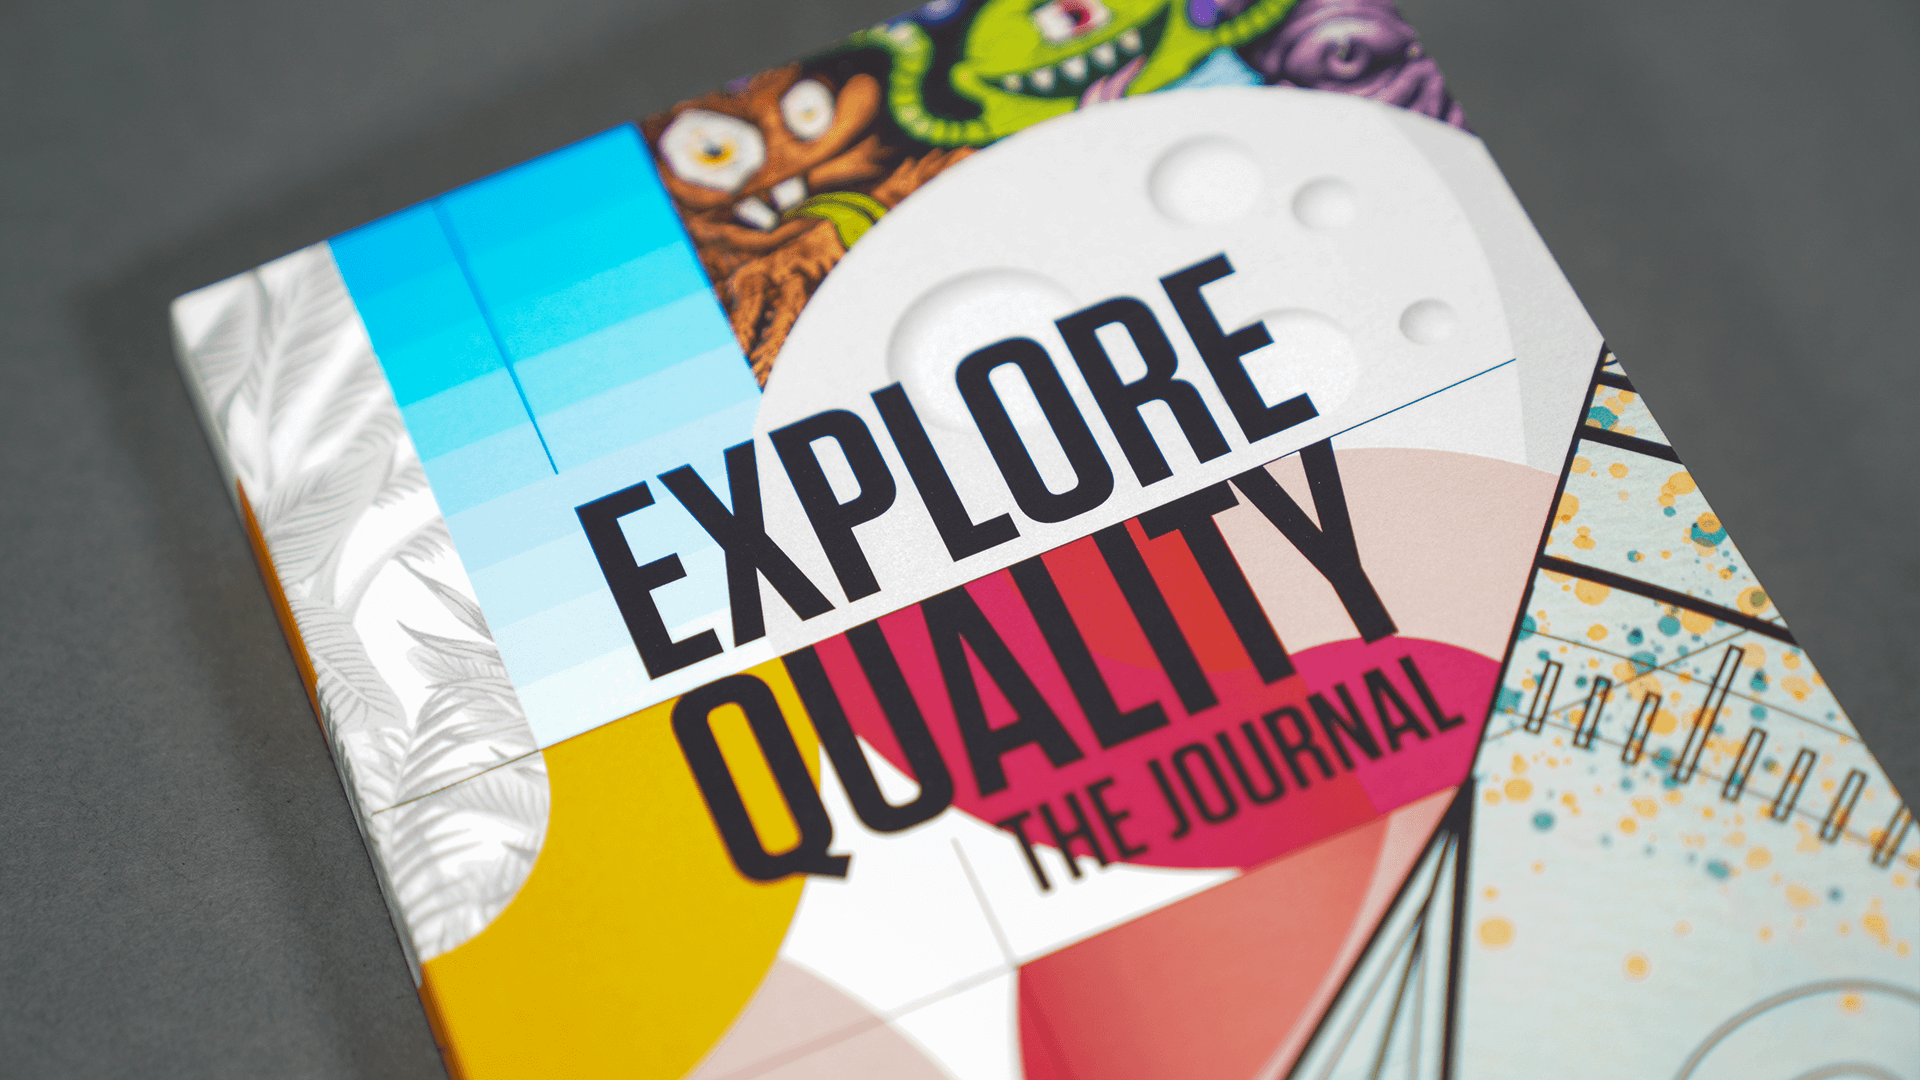
Project Spotlight: A Planner and Journal for Exploration and Discovery